 delishing
How to Make Classic Hummus From Scratch

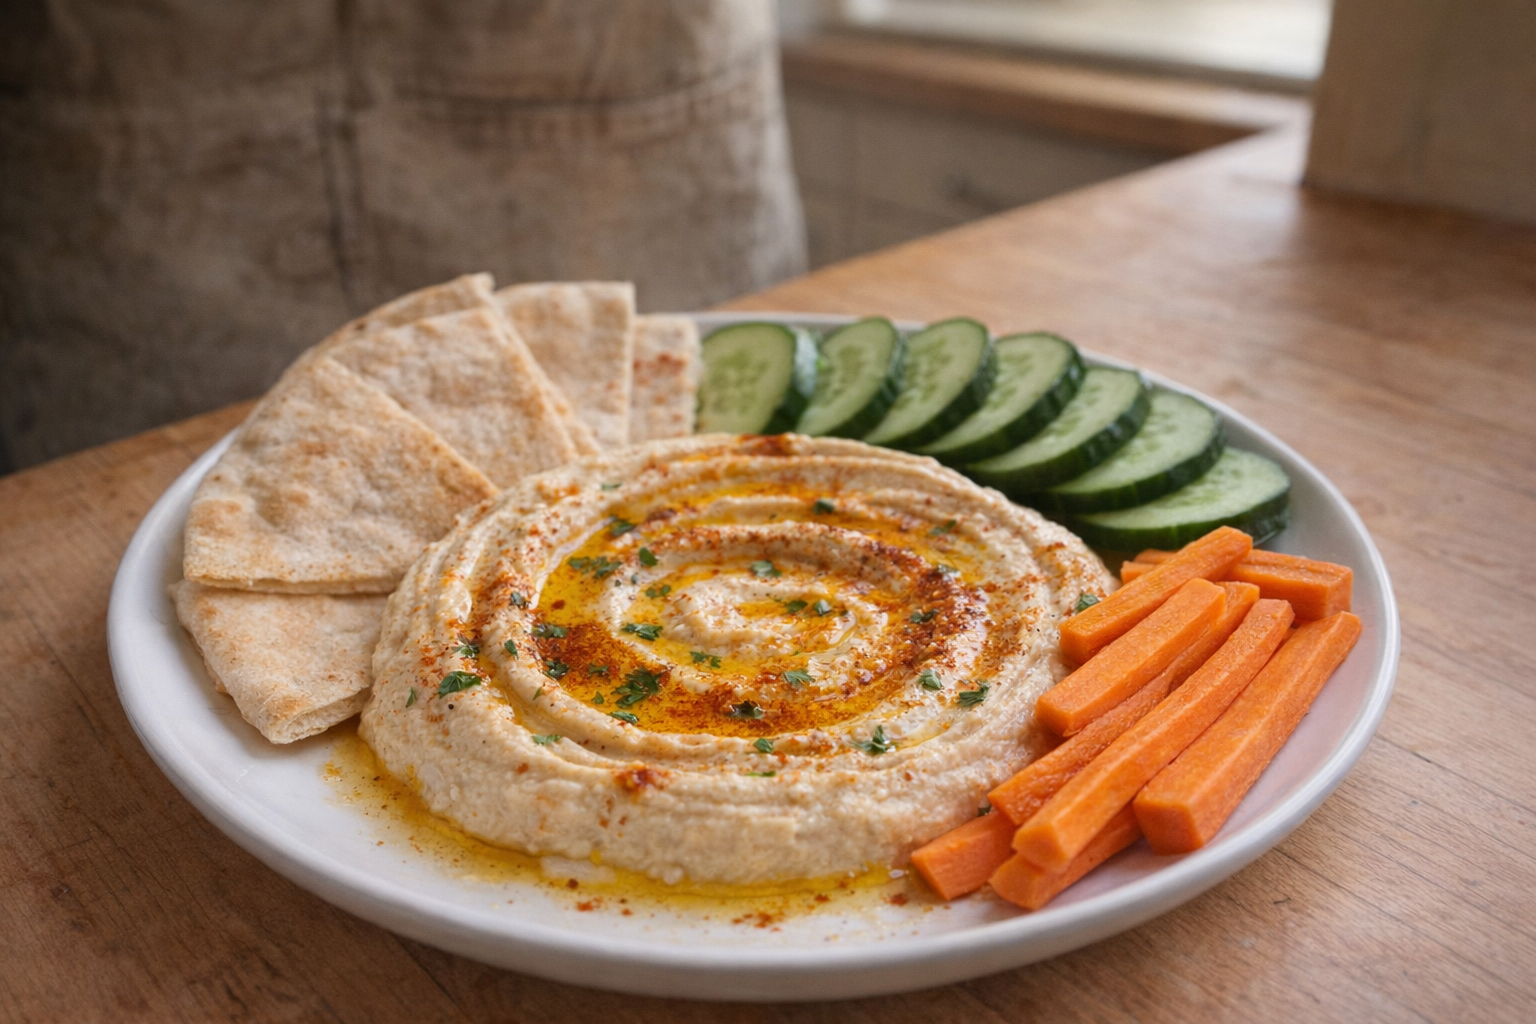
Hummus, at its core, is a celebration of simplicity. This creamy dip offers a harmonious balance of savory, nutty, and earthy flavors, punctuated by a zesty brightness from lemon and a subtle, yet satisfying, garlicky kick. This method focuses on achieving that classic flavor profile using readily available ingredients and simple techniques, resulting in a hummus that is both intensely flavorful and luxuriously smooth.
Making hummus from scratch allows for complete control over the texture and taste, ensuring a product far superior to most store-bought varieties. From adjusting the garlic intensity to dialing in the perfect level of creaminess, crafting your own hummus is an empowering culinary experience.
Understanding Chickpeas
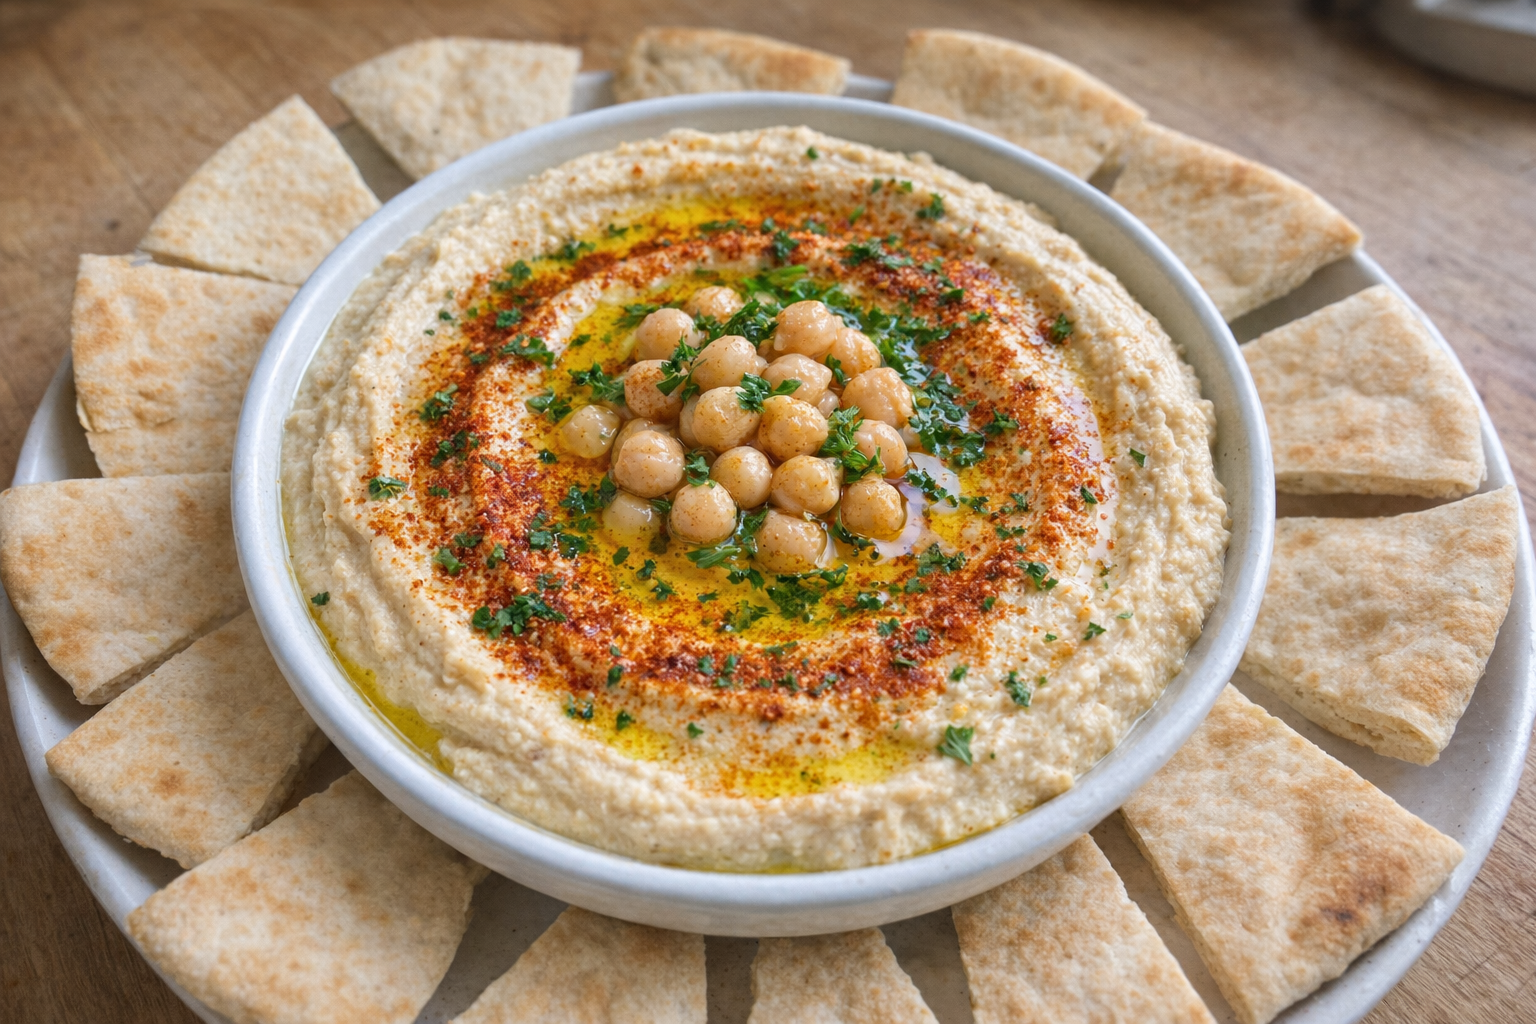
The foundation of any good hummus is, of course, the chickpea. Also known as garbanzo beans, these legumes come in dried and canned forms. While canned chickpeas offer convenience, dried chickpeas, when properly cooked, yield a superior flavor and texture. Look for chickpeas that are uniform in size and free from cracks or blemishes. Soaking dried chickpeas overnight is crucial for rehydration and even cooking. For canned, opt for low-sodium varieties and rinse thoroughly. The quality of your chickpeas directly impacts the final outcome of your hummus.
Why Cook Hummus This Way?
- Versatility: Hummus is a blank canvas for flavor. While we're focusing on the classic recipe here, this method allows you to adapt and experiment with other ingredients like roasted red peppers, avocado, or spices.
- Flavor: Homemade hummus boasts a depth of flavor that pre-made versions simply can't match. Fresh ingredients and careful technique result in a vibrant and authentic taste.
- Convenience: With a little planning, making hummus is surprisingly easy and quick. Once you master the basics, you'll never reach for store-bought hummus again.
Preparation (Mise en Place)
- If using dried chickpeas: Soak 1 cup (about 200g) of dried chickpeas in a large bowl with plenty of water for at least 8 hours, or preferably overnight. After soaking, drain and rinse the chickpeas thoroughly.
- Cook the chickpeas: Place the soaked chickpeas in a pot, cover with fresh water, and bring to a boil. Reduce heat and simmer for 1-1.5 hours, or until the chickpeas are very tender and easily mashed. Skim off any foam that rises to the surface during cooking.
- If using canned chickpeas: Drain and rinse two 15-ounce (425g) cans of chickpeas thoroughly.
- Prepare the tahini: Ensure your tahini is well-stirred, as the oil tends to separate.
- Juice the lemon: Freshly squeezed lemon juice is essential for its bright flavor. Have 2-3 tablespoons ready.
- Peel the garlic: Prepare 1-2 cloves of garlic, depending on your preference.
Essential Tools
- Food Processor: A high-powered food processor is crucial for achieving a smooth and creamy texture.
- Measuring Cups and Spoons: Accurate measurements are essential for consistent results.
- Can Opener (if using canned chickpeas): A standard can opener will do the trick.
- Lemon Juicer: For efficiently extracting juice from lemons.
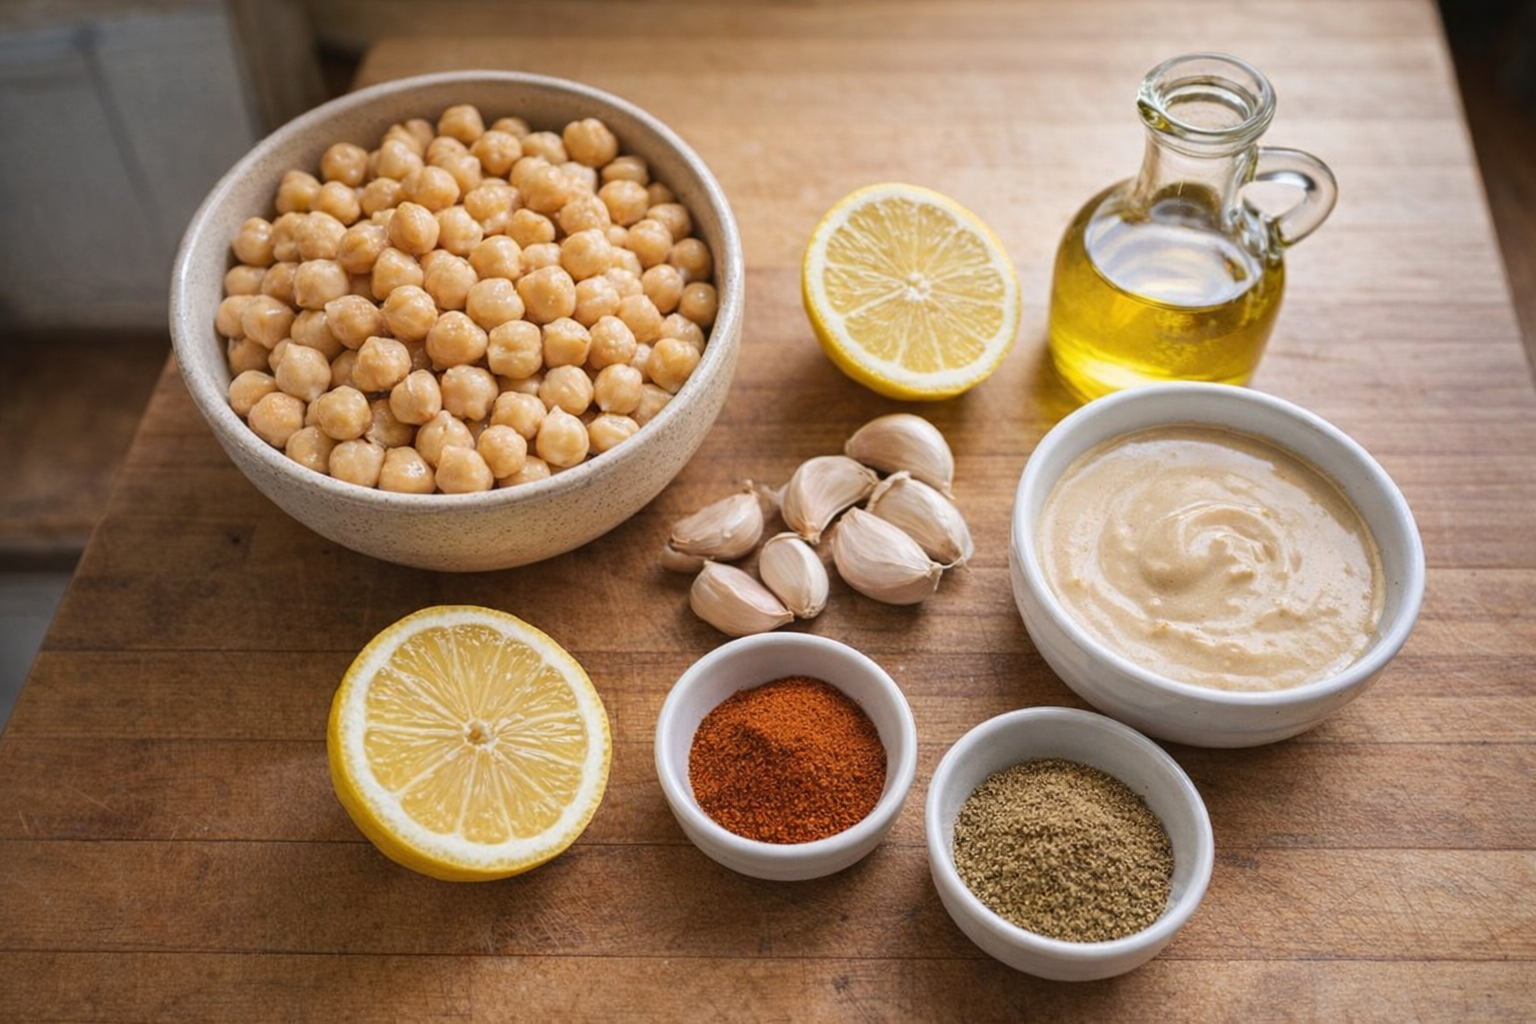
The Cooking Method(s): Classic Hummus
Classic Hummus
Ingredients:
- 2 cups (approximately 400g) cooked chickpeas (from about 1 cup dried, or two 15-ounce/425g cans), drained and rinsed
- 1/2 cup (120ml) tahini
- 1/4 cup (60ml) fresh lemon juice
- 1-2 cloves garlic, minced
- 1/4 cup (60ml) ice water
- 2 tablespoons olive oil, plus more for drizzling
- 1/2 teaspoon salt, or more to taste
- 1/4 teaspoon ground cumin (optional)
- Pinch of paprika, for garnish
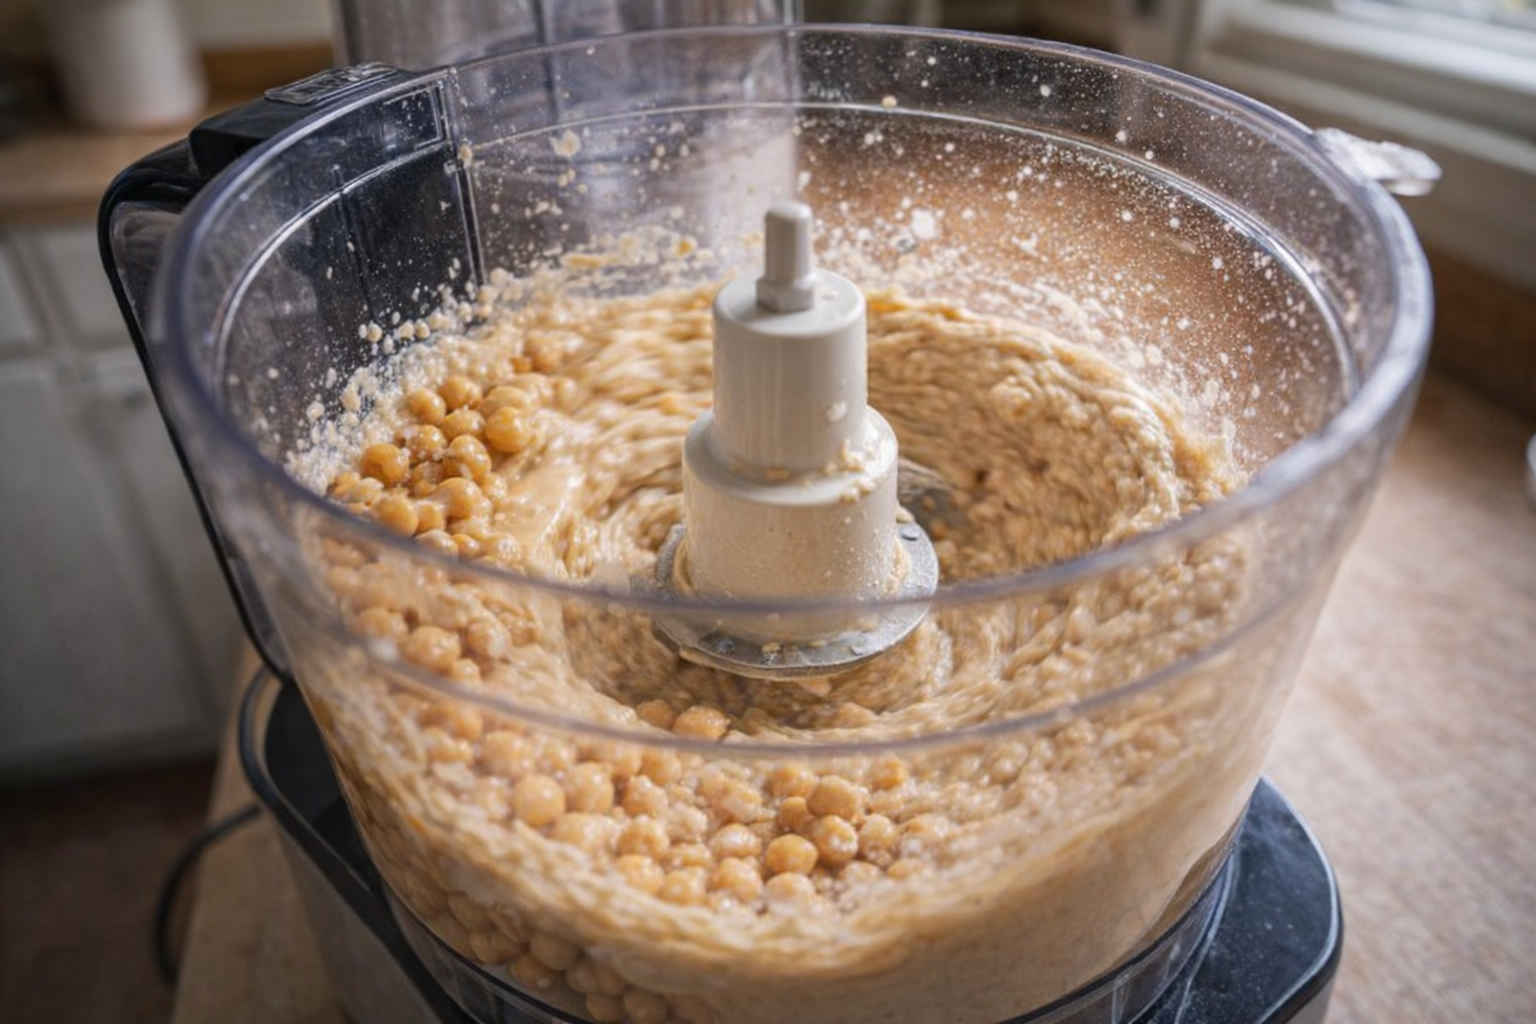
- Combine Chickpeas and Tahini: In the food processor, combine the cooked chickpeas and tahini. Process for 1-2 minutes, scraping down the sides as needed, until a thick paste forms. Listen for the motor to change as the mixture comes together.
- Add Lemon Juice and Garlic: Add the lemon juice and minced garlic to the food processor. Process for another minute until well combined. The aroma of garlic will become more prominent.
- Incorporate Ice Water: With the food processor running, slowly drizzle in the ice water. This is the key to achieving a light and fluffy texture. The mixture will lighten in color and become noticeably smoother.
- Add Olive Oil and Seasonings: Add the olive oil, salt, and cumin (if using) to the food processor. Process for another minute until the hummus is smooth and creamy. Taste and adjust seasonings as needed.
- Chill (Optional): For the best flavor, chill the hummus in the refrigerator for at least 30 minutes before serving. This allows the flavors to meld together.
- Serve: Transfer the hummus to a serving bowl. Drizzle with olive oil and sprinkle with paprika. Serve with pita bread, vegetables, or your favorite dippers.
Cooking Time & Doneness Guide:
- Total Prep Time: 10-15 minutes (excluding chickpea soaking and cooking time).
- Processing Time: 5-7 minutes.
Visual Cues
- Texture: The hummus should be smooth, creamy, and easily spreadable. There should be no visible chunks of chickpeas.
- Color: The color should be a uniform light beige, with a slight sheen from the olive oil.
Tips for Perfection:
- Use High-Quality Tahini: The quality of your tahini significantly impacts the flavor of your hummus. Look for tahini that is smooth, creamy, and has a slightly nutty flavor.
- Don't Skimp on the Lemon Juice: Lemon juice is essential for balancing the richness of the tahini and chickpeas. Use fresh lemon juice for the best flavor.
- Adjust the Water: The amount of water needed may vary depending on the consistency of your chickpeas and tahini. Add more water, one tablespoon at a time, until you reach your desired consistency.
- Warm Chickpeas (Optional): Some cooks like to use slightly warm chickpeas for a smoother texture.
Storage & Reheating:
- Storage: Store leftover hummus in an airtight container in the refrigerator for up to 5 days.
- Reheating: Hummus is best served cold or at room temperature. If refrigerated, allow it to sit at room temperature for 15-20 minutes before serving to soften slightly.
Serving Suggestions:
- With Pita Bread and Vegetables: A classic pairing. Serve with warm pita bread, sliced cucumbers, carrots, bell peppers, and celery.
- As a Sandwich Spread: Use hummus as a healthy and flavorful alternative to mayonnaise or other spreads on sandwiches and wraps.
- As a Topping for Salads: Add a dollop of hummus to your favorite salad for a creamy and protein-rich boost.
- With Falafel: Hummus is a natural partner for falafel. Serve alongside falafel balls with tahini sauce and pickles.
💡 Pro Tips
- For an ultra-smooth texture, overcook your chickpeas until they are slightly mushy and peel away the skins before blending.
- Add a few ice cubes or a splash of ice-cold water while processing the hummus to incorporate air and create a light, whipped consistency.
- Blend the tahini and lemon juice together first for at least one minute to create a creamy, aerated base before adding the chickpeas.
- Mellow out the raw garlic bite by letting the minced cloves sit in the lemon juice for ten minutes before blending them into the mixture.
- Use high-quality tahini that is runny and well-stirred to ensure the nutty flavor is evenly distributed throughout the dip.
Frequently Asked Questions
If you're short on time, you can try a quick-soak method. Boil the dried chickpeas in water for 2 minutes, then remove from heat and let them soak for 1 hour before cooking. While this isn't as effective as an overnight soak, it will still soften the chickpeas and improve their texture.
While fresh lemon juice is preferred for its brighter flavor, you can substitute with bottled lemon juice in a pinch. Use about 3 tablespoons of bottled lemon juice for the recipe, and adjust to taste. Keep in mind that the flavor might not be as vibrant.
Homemade hummus will typically last for 3-5 days in the refrigerator. Store it in an airtight container to prevent it from drying out. You can also drizzle a bit of olive oil on top before storing to help preserve its freshness.
If your hummus is too thick, gradually add ice water, one tablespoon at a time, while blending until you reach your desired consistency. The cold water helps to create a smoother, creamier texture without compromising the flavor.